JCT Coating Thickness Gauge
- Product Details
- Company Profile
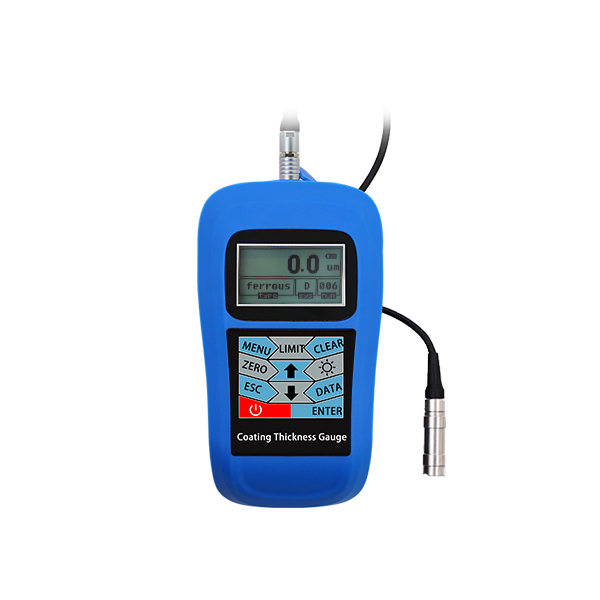
JCT Coating Thickness Gauge
Main feature:
*Various probes optional, probe auto matching.
*Durable ruby probe, more wear and precise.
*Full metal shell design, sturdy, portable, high reliability.
*Alarm function when overrun the settable limiting range.
*Five statistics values [MEAN, MAX, MIN, NO., S.DEV] higher measurement accuracy.
*Large storage, easy to delete single or multiple saved values..
*PC software optional, convenient the data transmission, analysis, printing etc.
Main Specification:
| JCT820 |
Measuring range | 0-1250μm, depends on probes, MAX 10mm for the probe F10. |
Working principle | Magnetic & Eddy |
Substrate | FE / NFE base |
Resolution | 0.1μm |
Display | 128x64 LCD with backlight |
Accuracy | ±2%H+1um Note: H is thickness reading |
Memory | 5 files x 100 values |
Unit switch | Metric (μm) Imperial (mil) |
Working temperature | Operation Temp. : -10~50°C Storage Temp. :-30~70°C |
Power | AA battery 2pcs |
Weight | 340g |
Size | 115*67*31mm |
Remarks:
With different probe: JTC800 can measure the thickness of non-magnetic coating layers covered on magnetic substrate. Such as: non-magnetic (aluminum, chrome, copper, enamel, rubber, paint) covered on magnetic substrate (steel, alloy and magnetic stainless steel)
It also can measure the thickness of non-conductive coatings layers covered on conductive substrate. Such as: (enamel, rubber, paint, vanish, plastic anodic-oxide layer) covered on conductive substrate (aluminum, brass, zinc and nonmagnetic stainless steel).
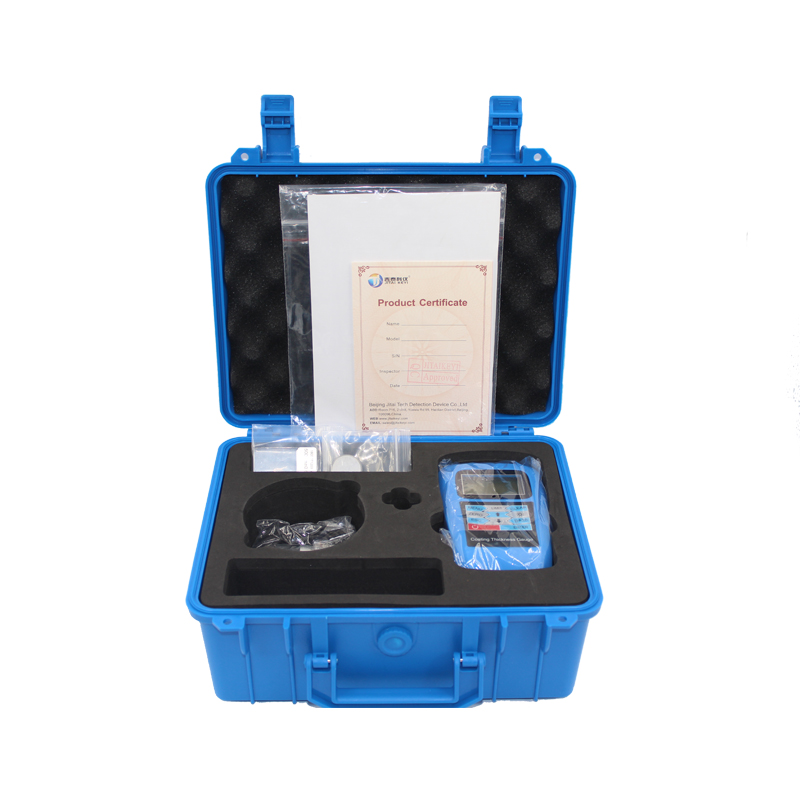
Standard configuration:
| Name | QTY |
1 | Main unit | 1 |
2 | Probe (Fe or NFe) | 1 |
3 | Calibration piece + Zeroing plate | 5+1 |
|
|
|
5 | Operating manual | 1 |
6 | Warranty card | 1 |
7 | Instrument case | 1 |
Optional accessorices:
Probe | Measuring range (mm) | Operating principle |
F1 | 0~1250 | Magnetic |
N1 | 0~1250 | Eddy current |
F10 | 0~10000 | Magnetic |


 Member of CCCME Council
 0
0 Chinese
Supplier
